After Effects Task Submission
After Effects Task Submission
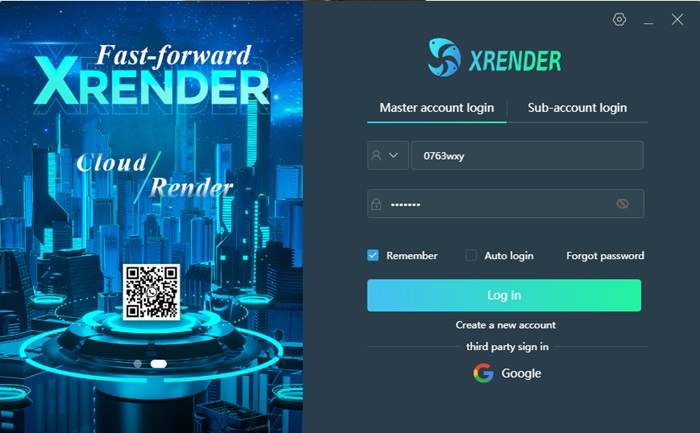
Login the XRender Client
Configure Rendering Environment
To boost rendering, please configure the rendering environment based on the parameters of your projects. Please follow the steps to set the configuration:
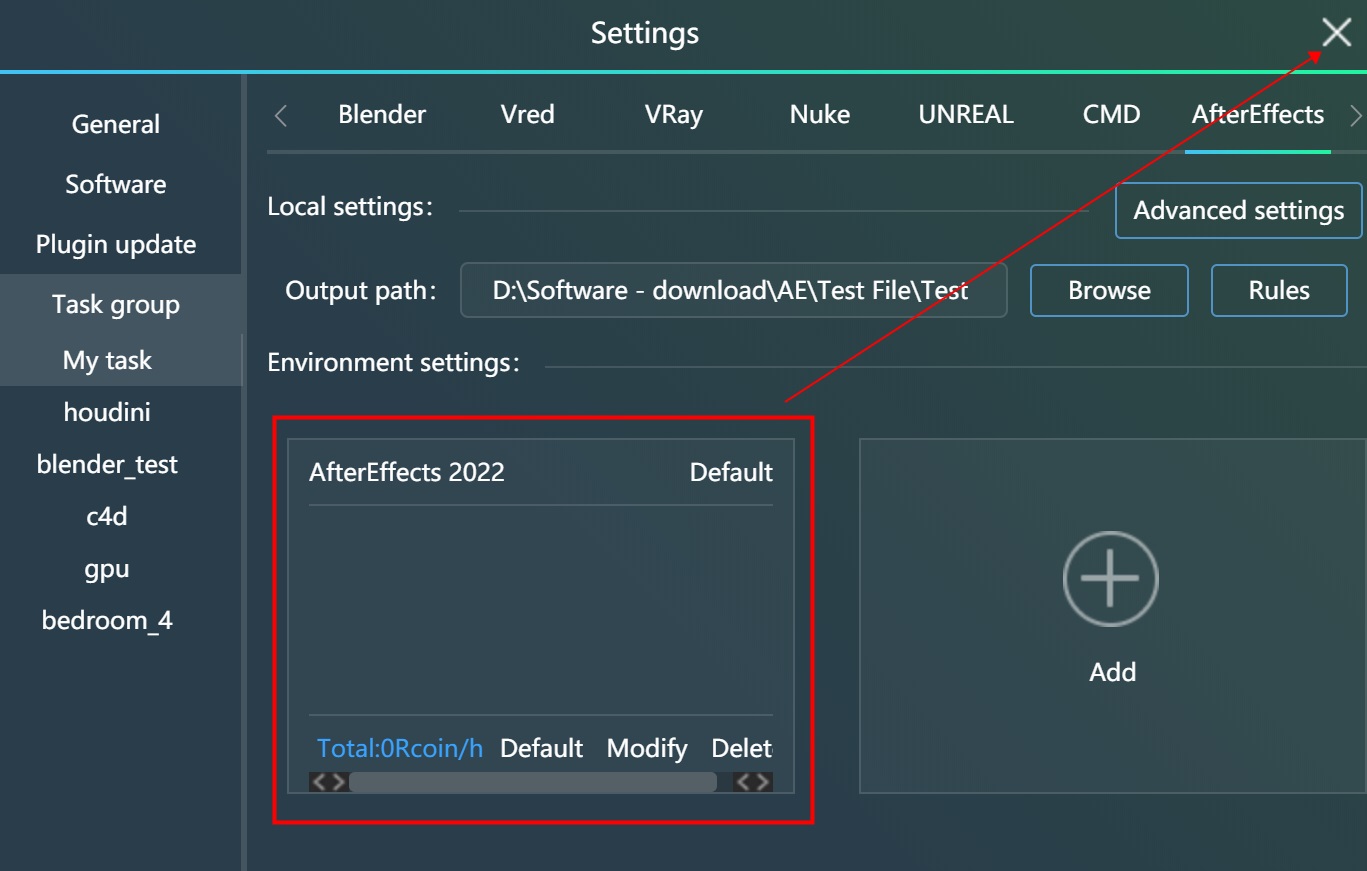
- Click the Settings button in the upper right corner of the interface and select Task Group;
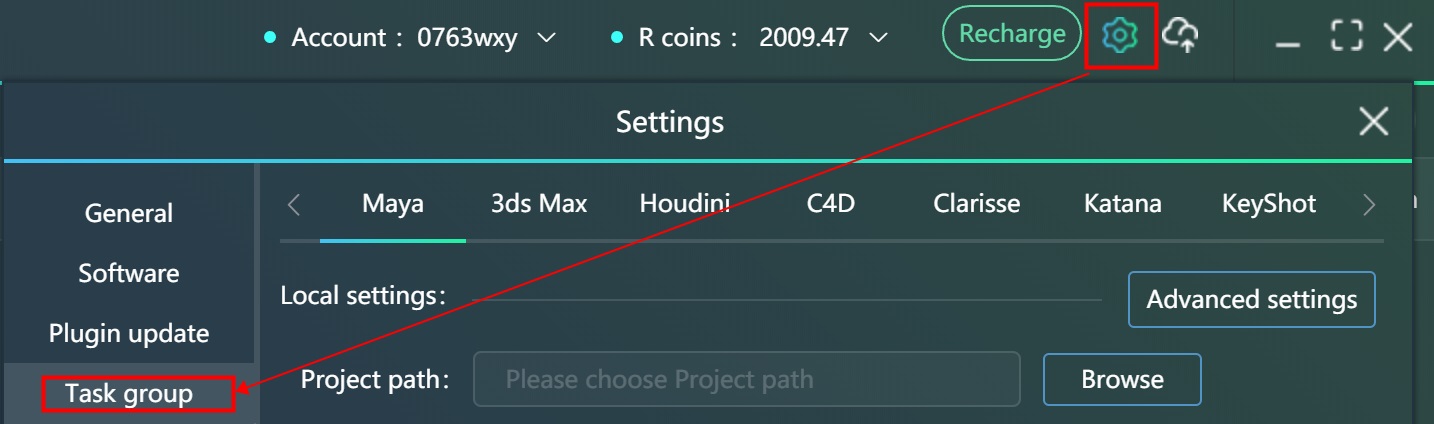
- You may choose the default task group (①) or create a new task group (②) for your project. Select After Effects(③) as the software at the top menu, set the Output path(④) and click Add(⑤) to set software version;
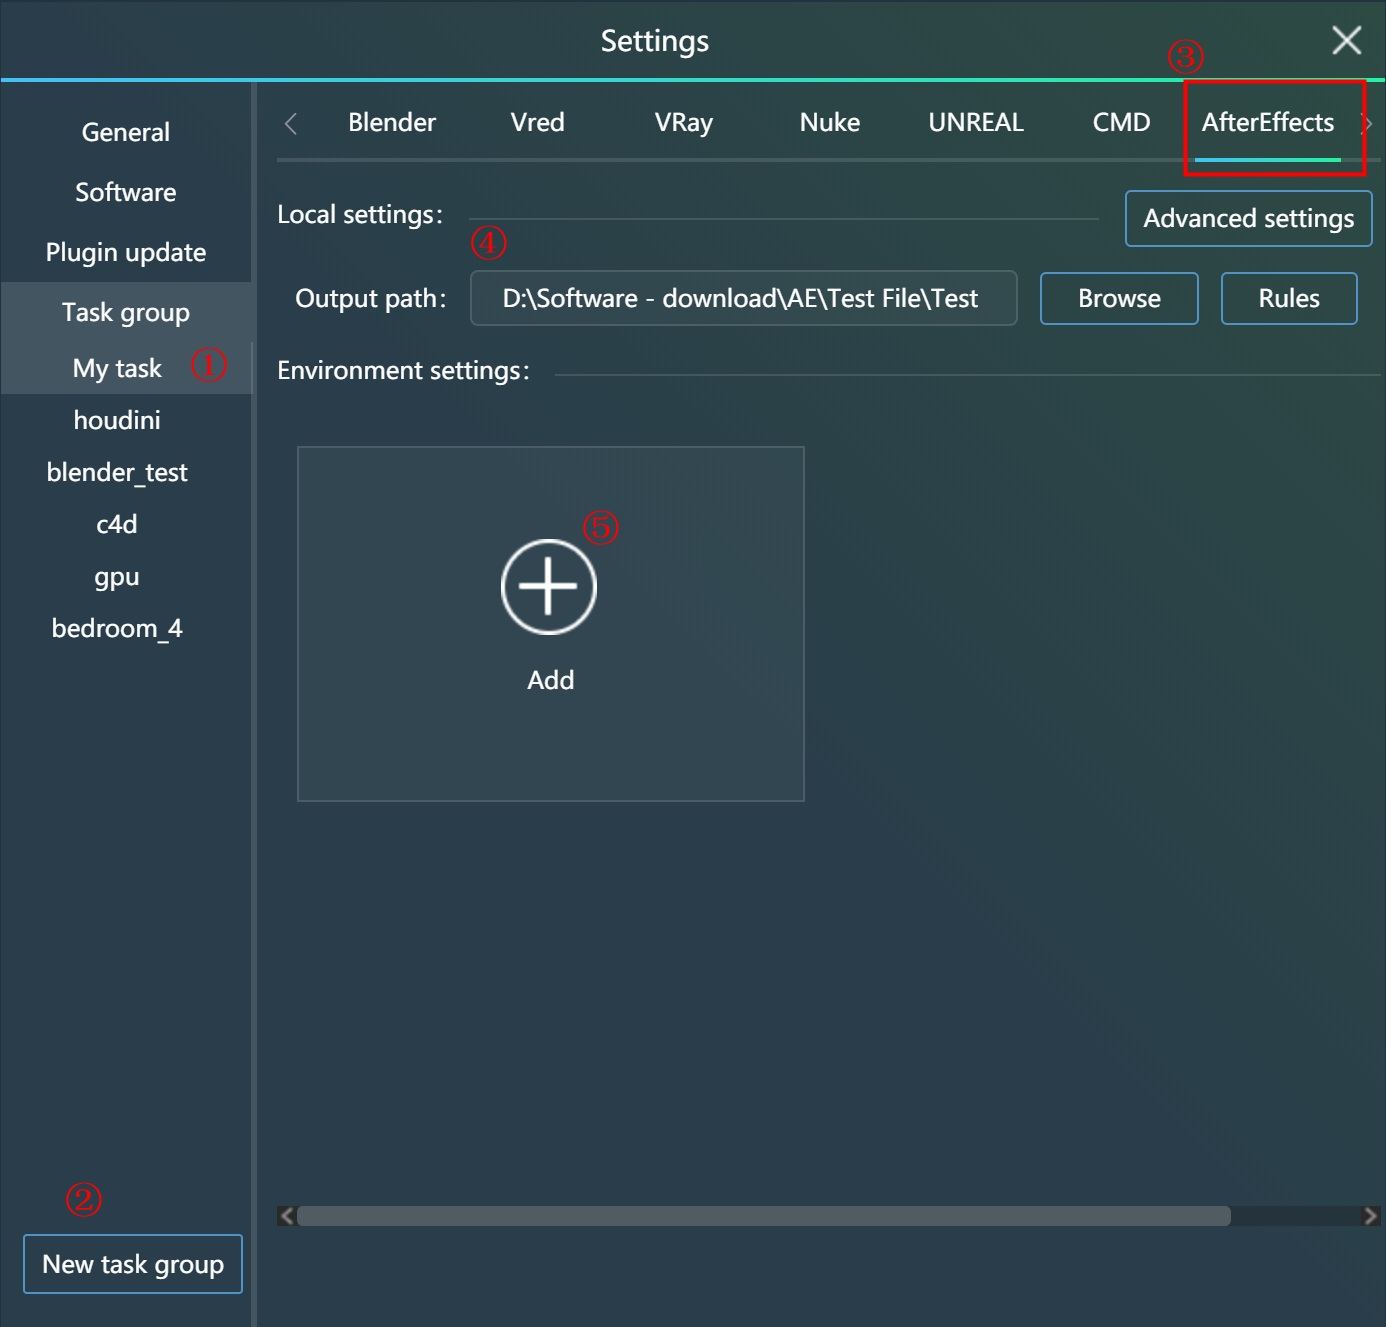
- Select the AE version your project created with and save the settings;
- Confirm your render environment and close the setting panel;
Submit to XRender
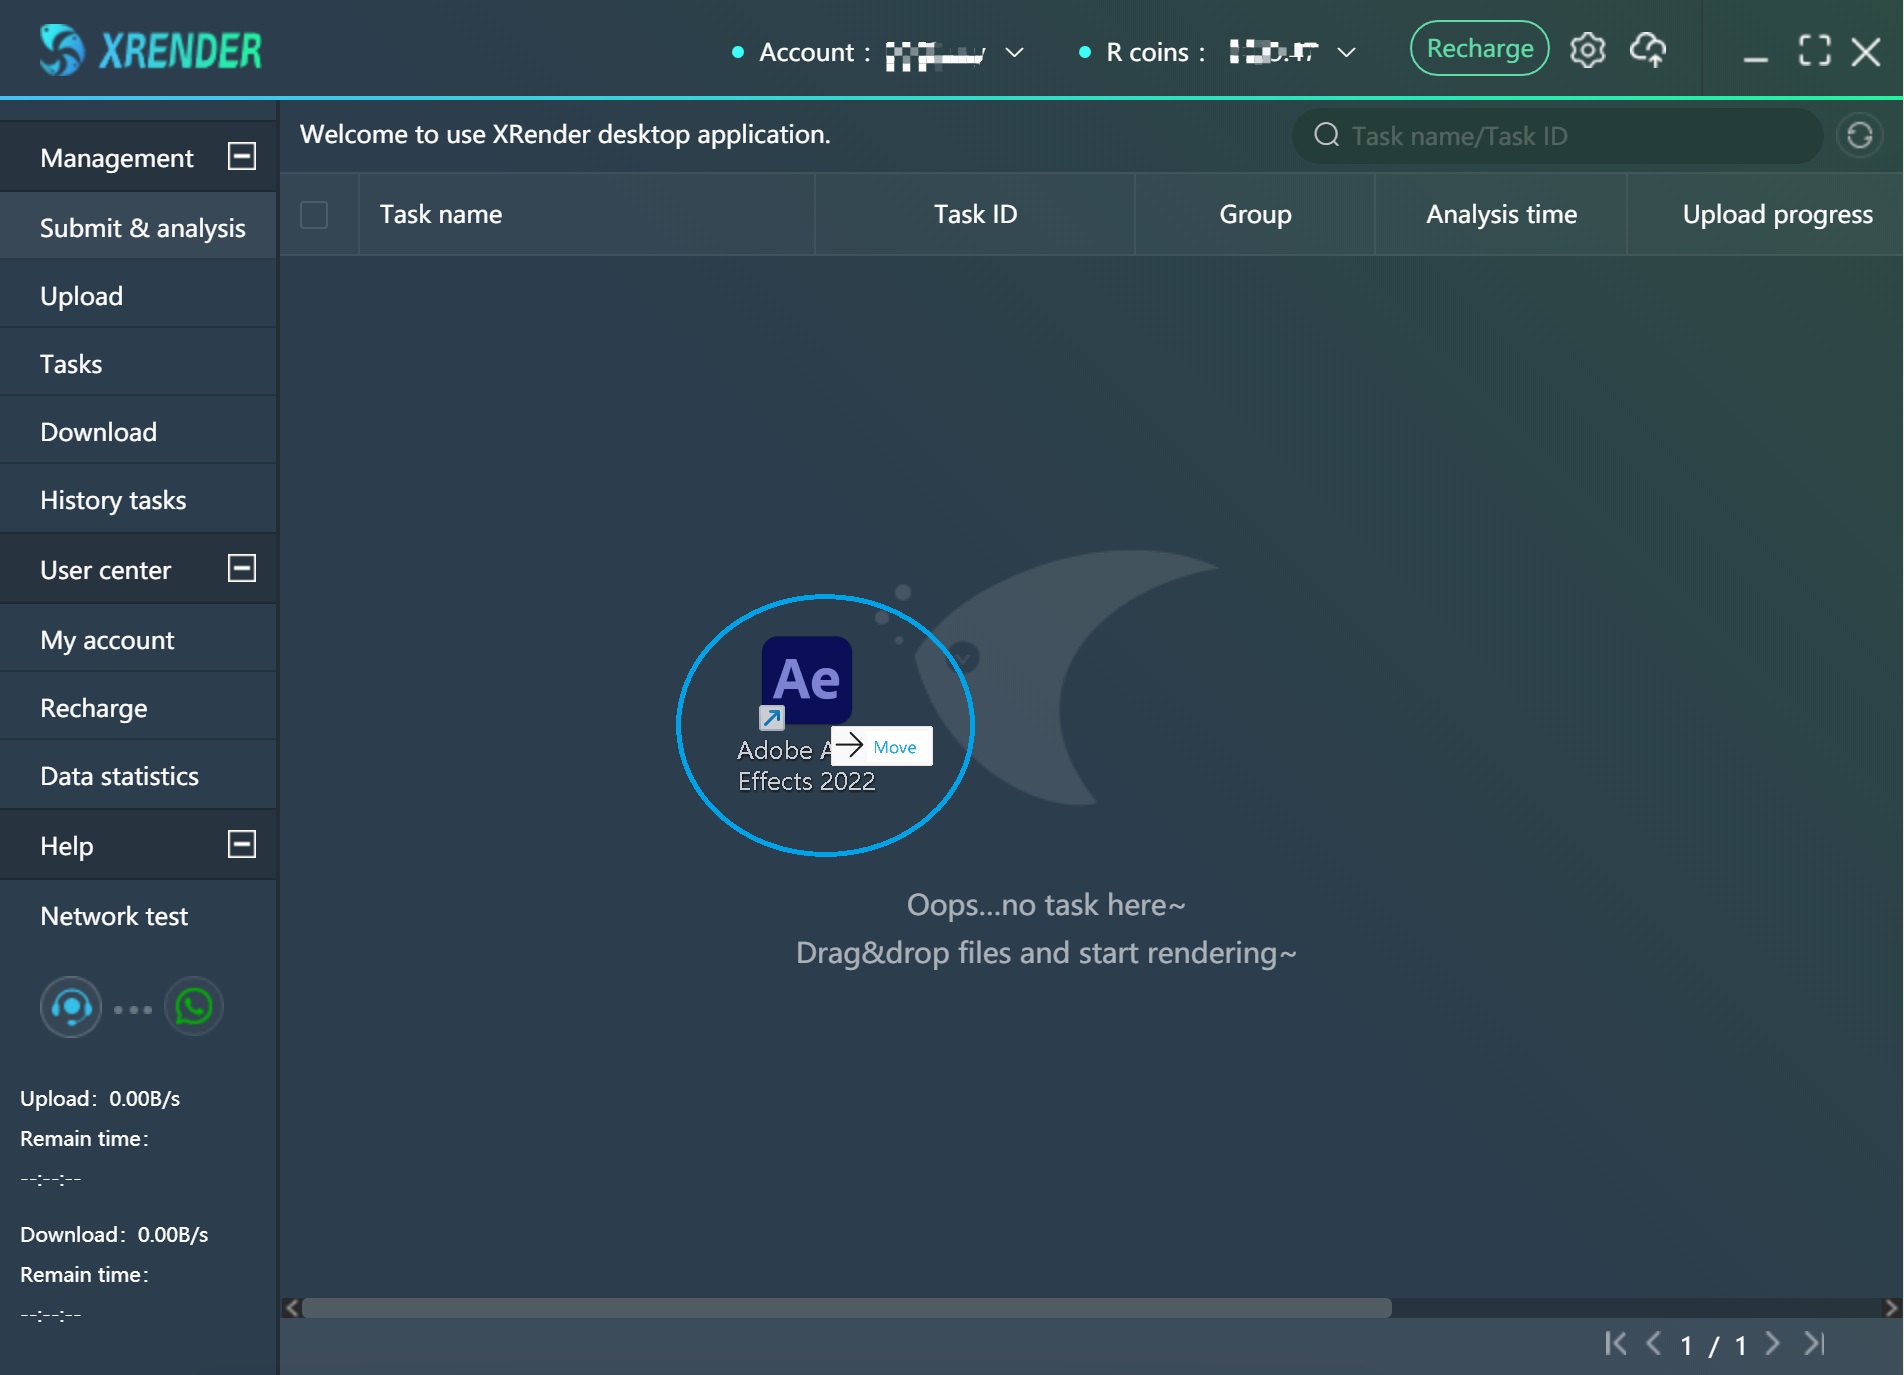
Drag and drop your AE files to task panel. XRender supports batch submission, you can select multiple files and drag to submit at one time.
If sometimes you forget to set up the rendering environment in advance when submitting a task, you can also click Create after completing the drag and drop to quickly set up the task group;
Task Analysis & Parameter Setting
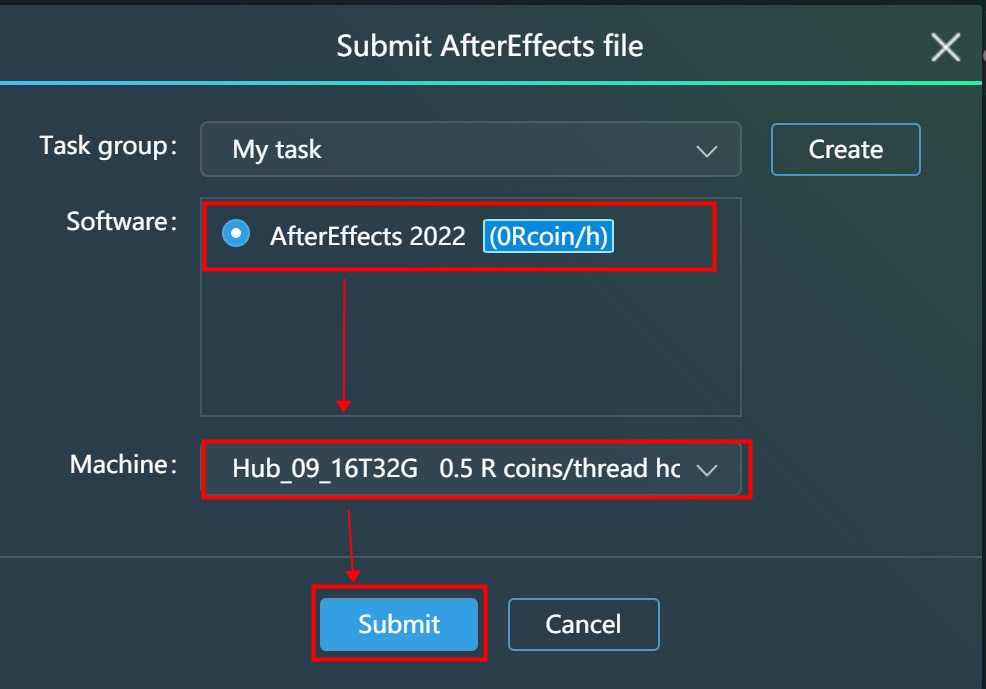
The intelligent XRender Client will analyze your files automatically before uploading. When it shows "Analysis done, please submit", please right-click and set parameters before submitting;
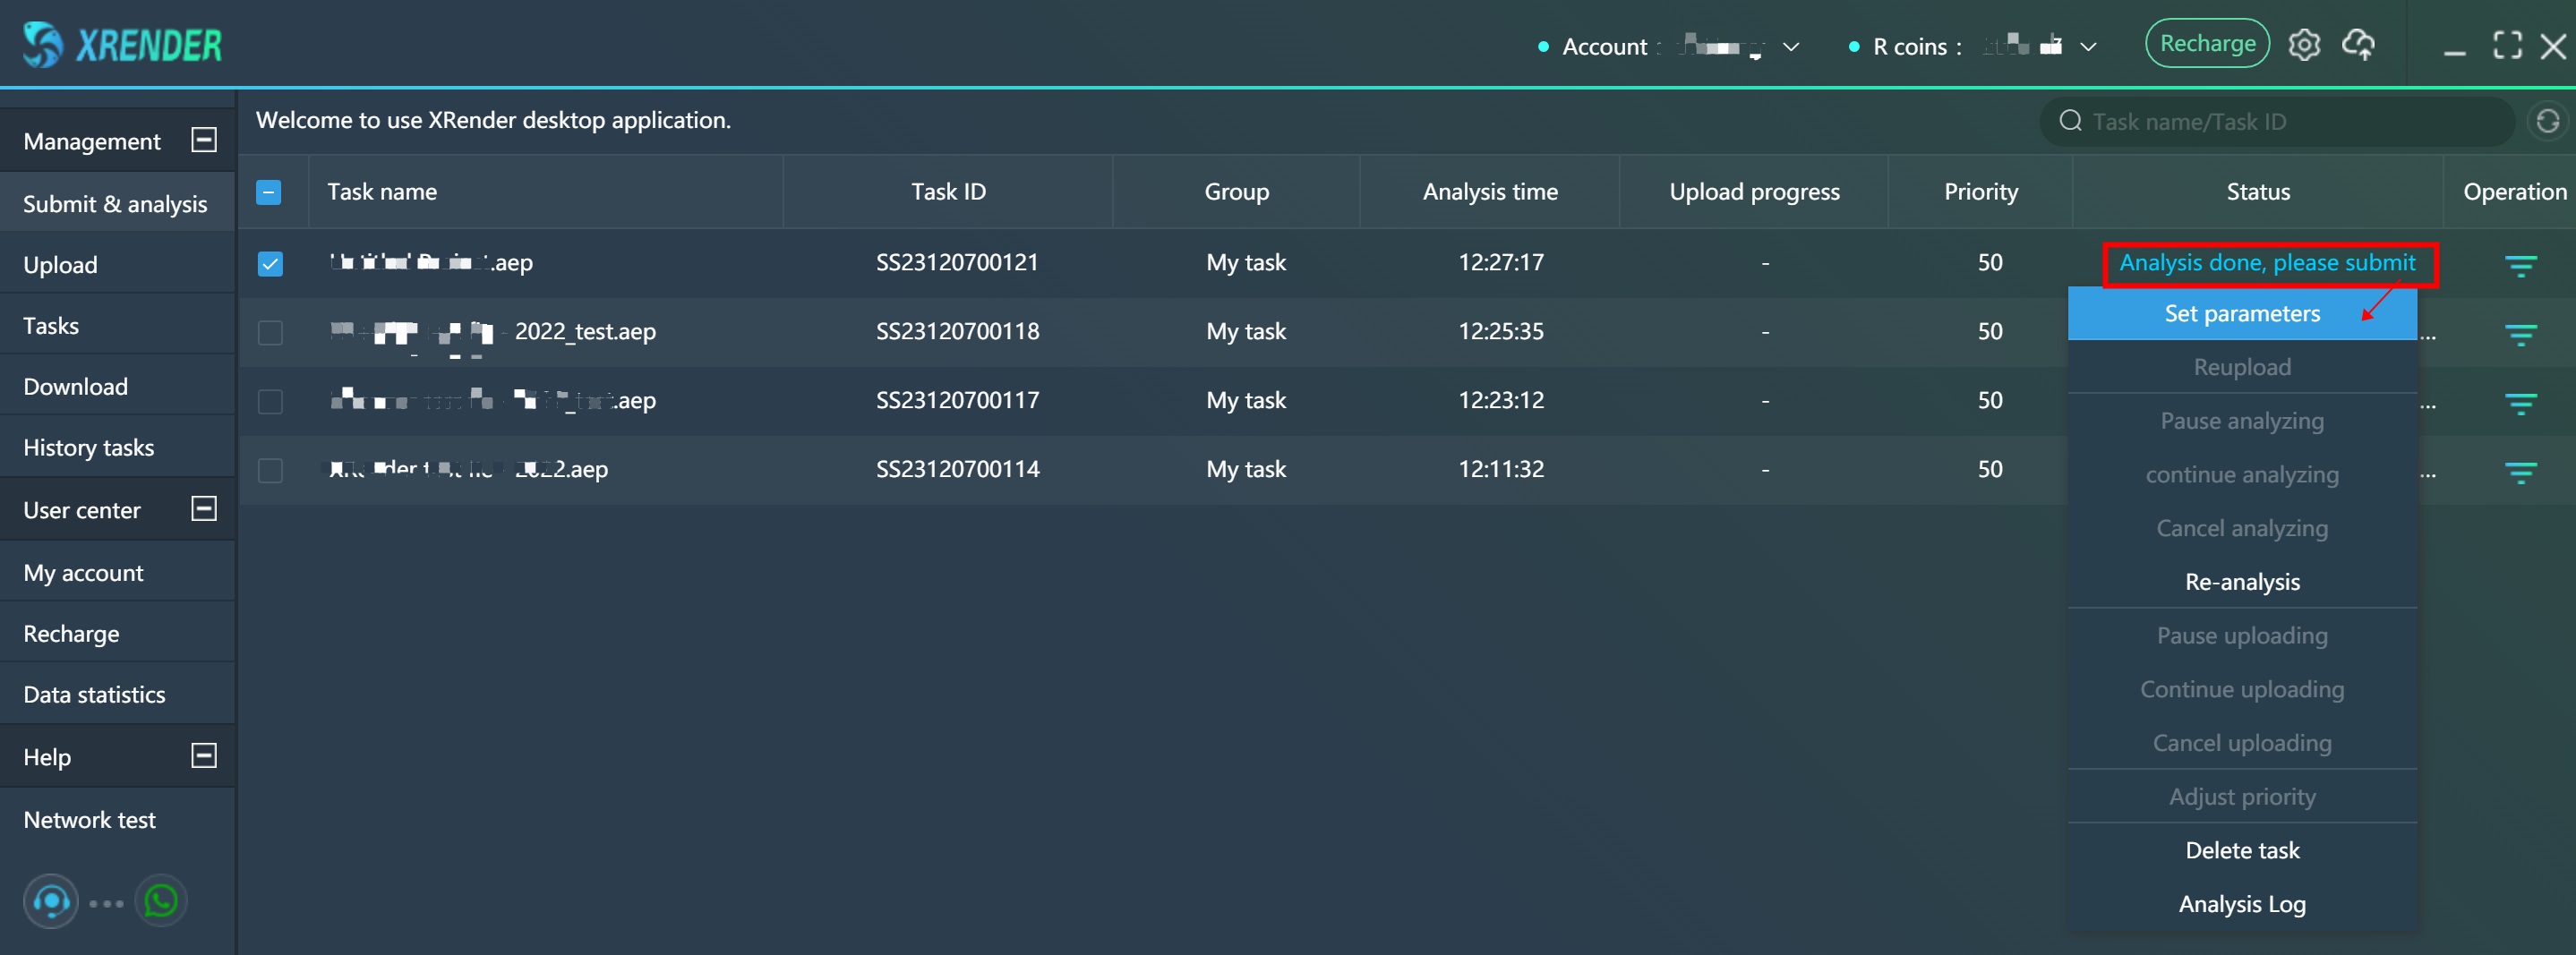
You may adjust the basic parameters about rendering in this panel according to your needs and click submit to upload your files;
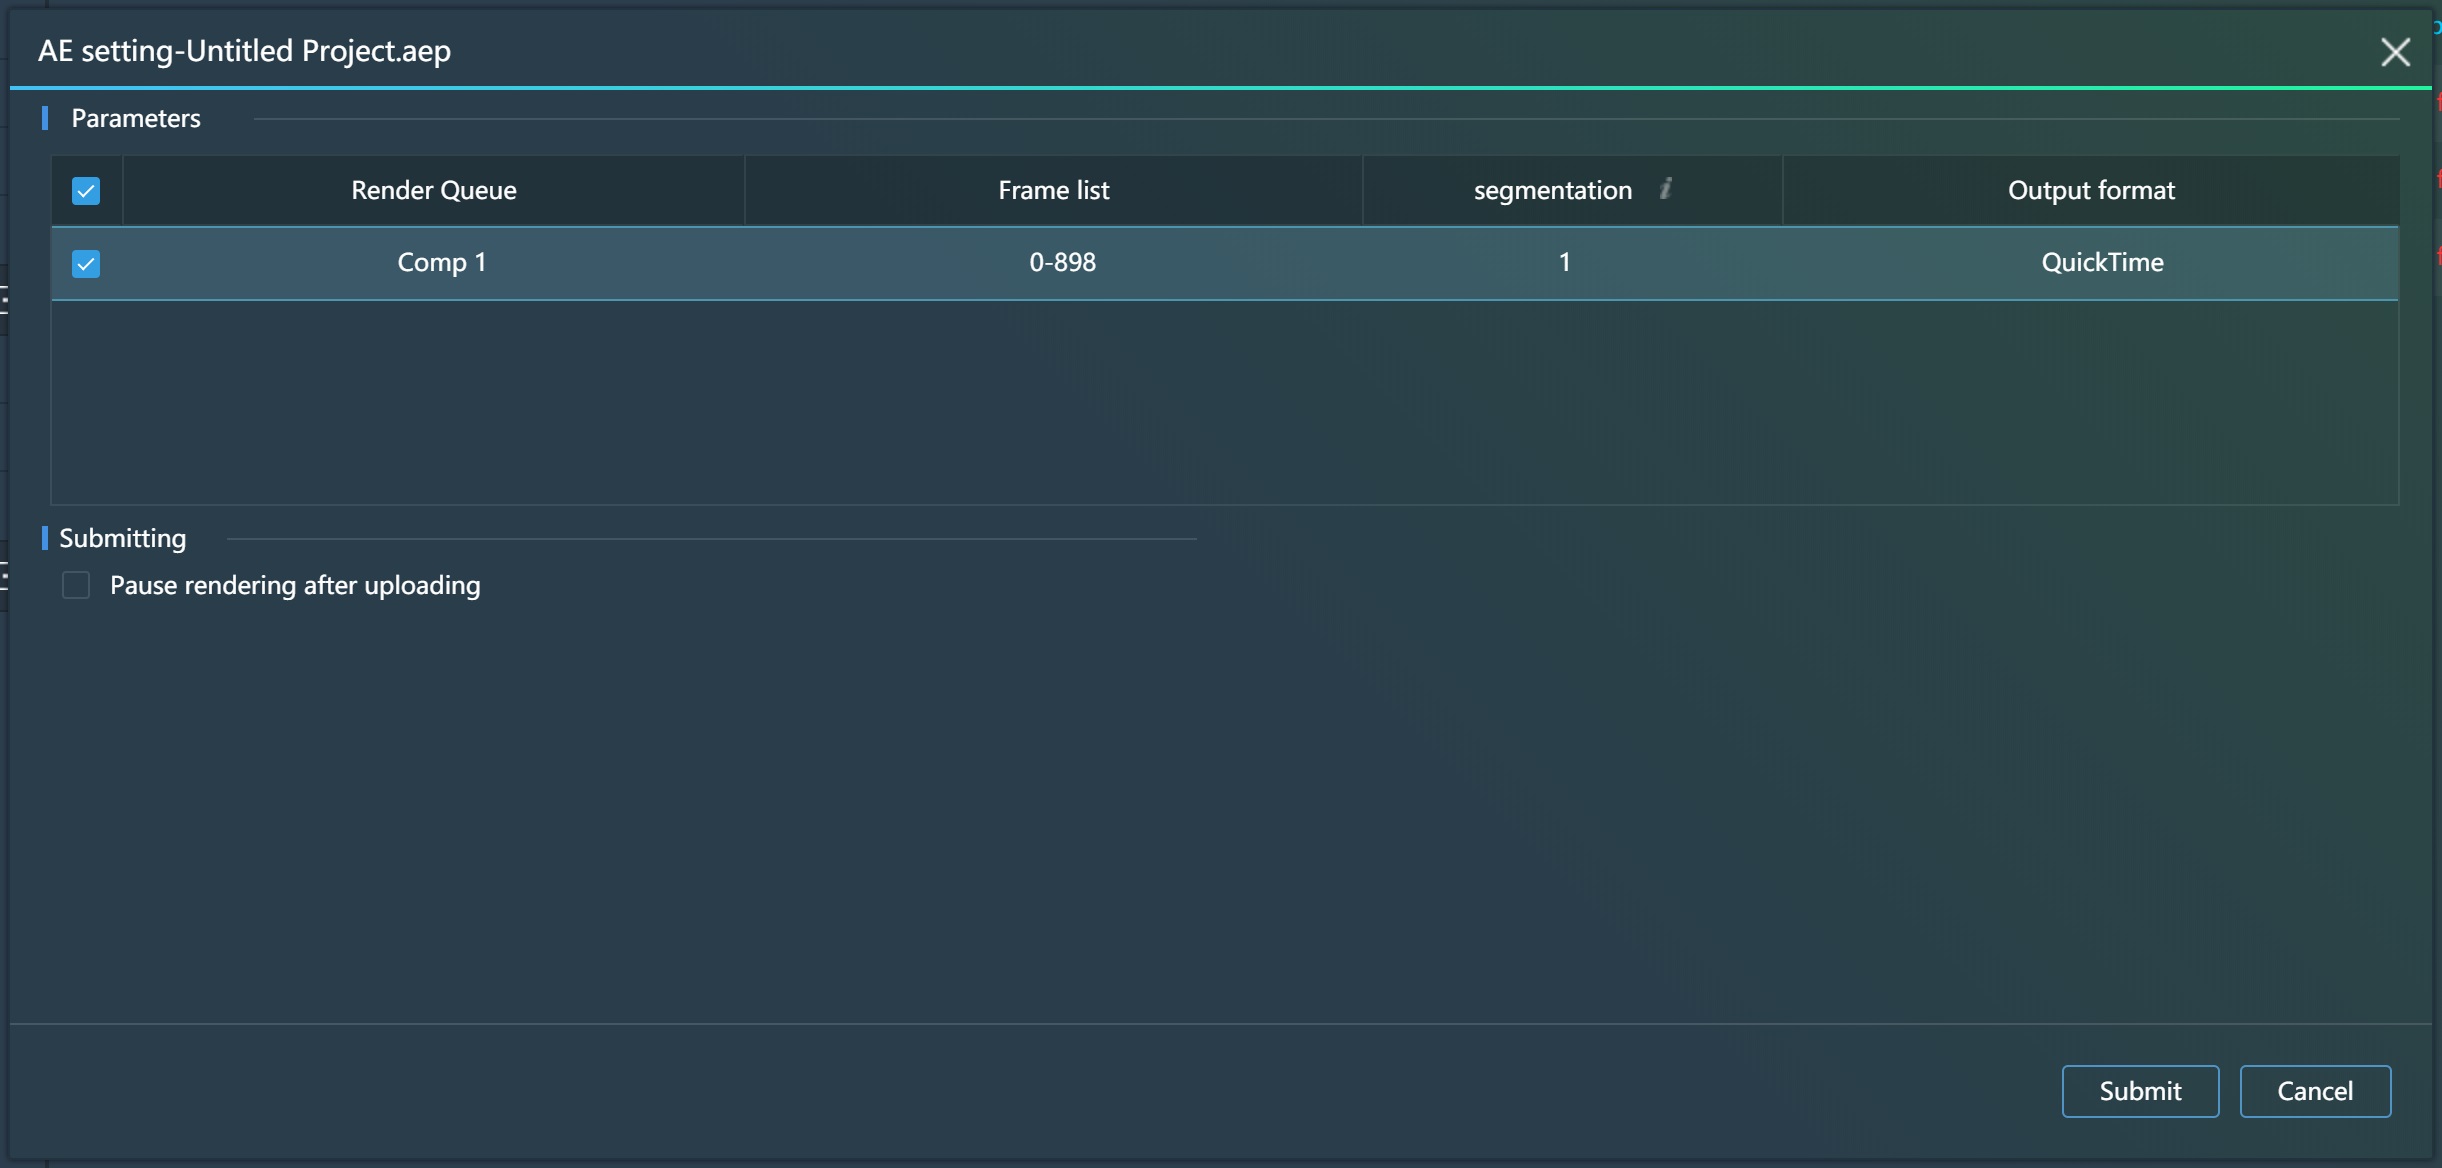
When other types of prompts appear, you can optimize the file according to the specific content of the prompt, or you can directly contact customer service staff for help;
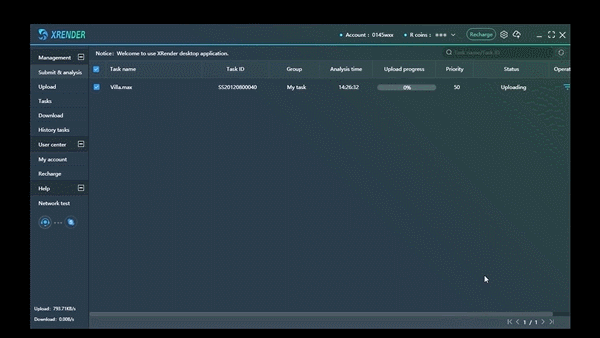
Task Uploading
After confirming the file parameters, you may turn to the “Upload” panel for more details about uploading.
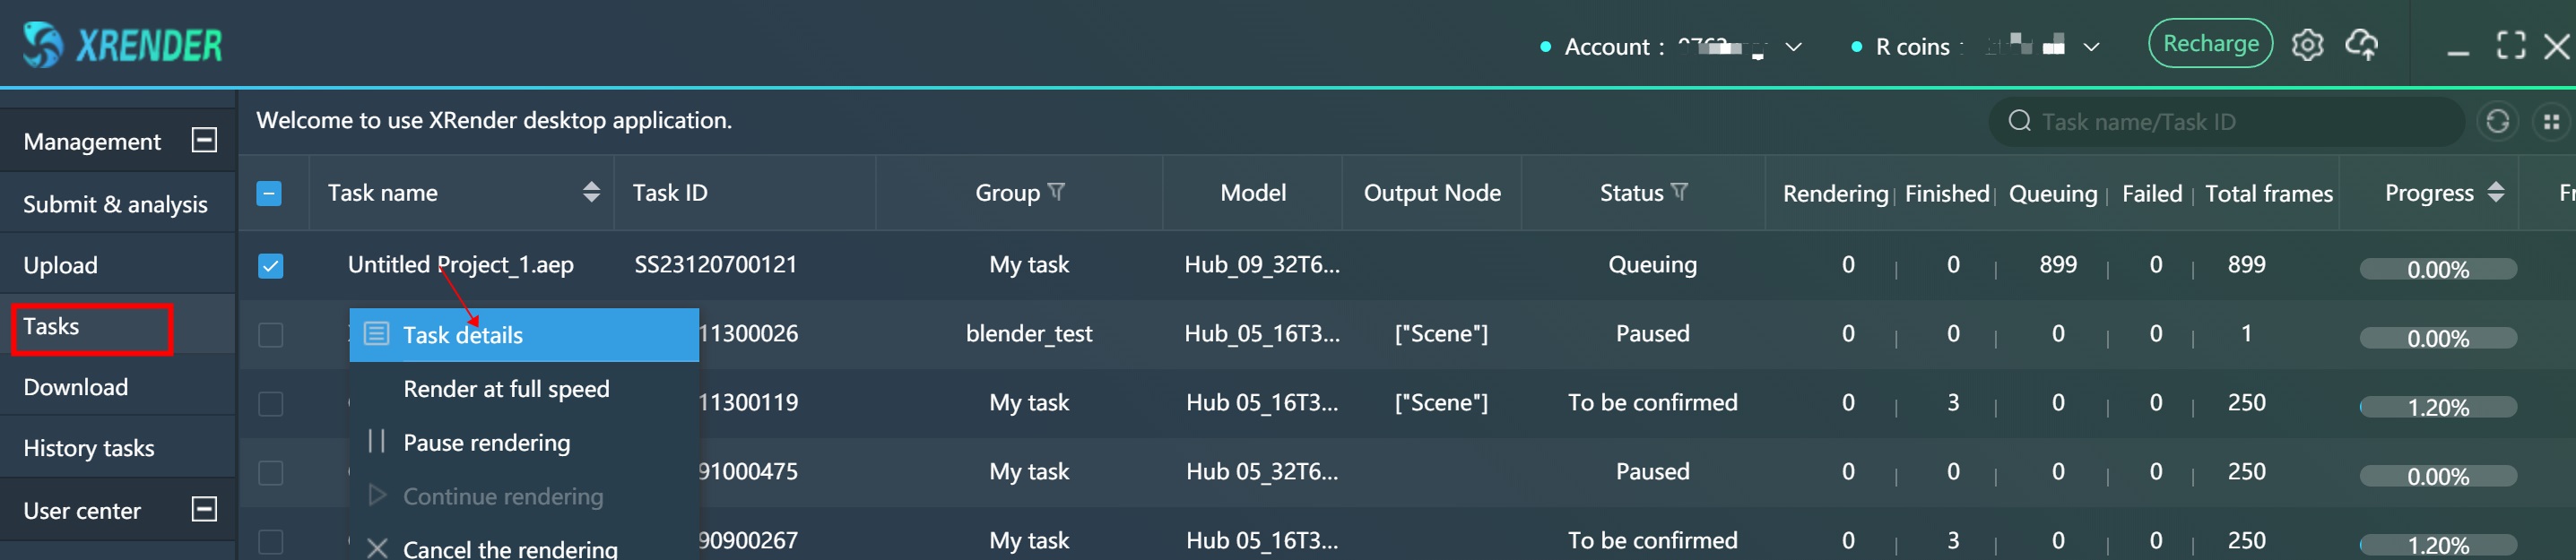
Rendering
When all files needed for rendering are uploaded to the XRender data center, the client will automatically start cloud rendering. You may check the rendering process in the Tasks section, or perform related operations on rendering tasks according to actual needs.
Check render results
Right-click to open the output path and check the render results.