Lights
Lights
Lights/Shadows – Enable/Disable
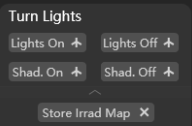
Support quickly enable/disable lights and shadows for rendering.
- Lights On: Click to enable the selected light for rendering;
- Lights On
↑: Click to enable all lights in the scene for rendering; - Lights Off: Click to disable the selected light for rendering;
- Lights Off
↑: Click to disable all lights in the scene for rendering; - Shad. On: Click to enable the shadow of selected light for rendering;
- Shad. On
↑: Click to enable the shadow of all lights in the scene for rendering; 7 Shad. Off: Click to disable the shadow of selected light for rendering; - Shad. Off
↑: Click to disable the shadow of all lights in the scene for rendering; Store Irrad. map: Click to calculate the effects of the VRayLight and store them in the irradiance map file of selected object;- Store Irrad. map
X: Click to disable the calculation of the VRayLight and storage of the irradiance map file of selected object
Note:
When shadows are enabled, the current shadow type will be automatically detected. If the shadow type does not match the current renderer, CG MAGIC will switch to the current renderer shadow type by default.
Lights/Shadows – Subdivision
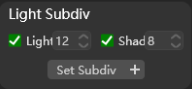
Supports edit the subdivision values of the lights and shadows of the selected object.
Set Subdiv.: Click to set the subdivision values of the lights and shadows of the selected light according to the set parameters;- Set Subdiv.
+: Click to set the subdivision values of the lights and shadows of all lights in the scene according to the set parameters;
Clamp Light
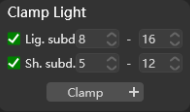
Supports limiting the range of data flowing through the operator to a minimum and maximum.
Clamp: Click to clamp the subdivision values of the lights and shadows of the target light;- Clamp
+: Click to the subdivision values of the lights and shadows of all lights;
Note:
Clamping only takes effect on values outside the set range, and parameters within the range will not be modified;
Light Color
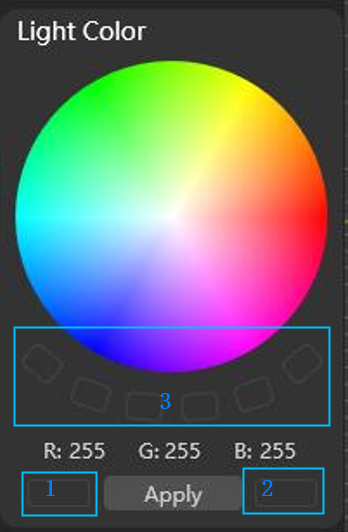
Supports quickly assigning colors to selected lights.
- Click target light to view the current color of it;
- Click and use the eyedropper on the color swatch to pick up the desired color, click
Applyto take effect, the target color will show in this box; - Click a box and select a color for preset, and CG MAGIC will save it as preference for further usage, supports 6 presets by default;
Light Kelvin
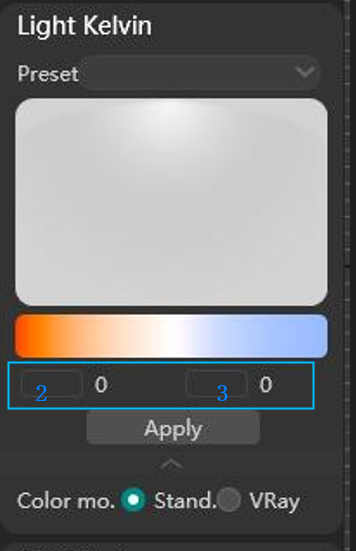
Supports setting the color of the light by adjusting the color temperature spinners.
Preset: Click to select a preset color temperature;- Click target light to view the current color temperature of it;
- Click and use the eyedropper on the color temperature swatch to pick up the desired color temperature, click
Applyto take effect, the target color will show in this box; Color mo.: Click to switch color temperature mode between thestandard3ds Max mode or theV-Raymode;
HDR System
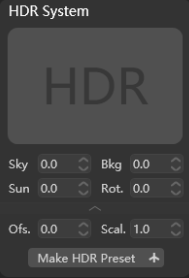
Supports efficient adjustment and application of HDR assets, customize your own HDR library, default HDR preset. In addition, users can continue to adjust various parameters of the HDR environment, all available for free!
Adjustable parameters including: strength of sky/background/sun, rotation/offset/scale value.
CG Magic provides users with some commonly used HDRs, covering scenes from different weather, different time to different place.
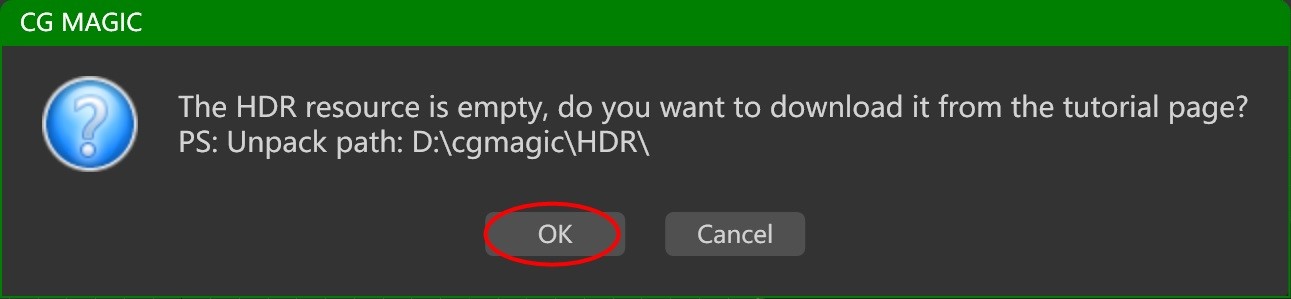
To use the HDRs we provide, you will need to download it from the network disk and save it to the specified file path: installation directory\CGMAGIC\HDR (which you can click ↑ to open).
Download link: https://drive.google.com/file/d/19IQBZLA6ePYnCPKhJYGXvrNA1NYpjvEu/view?usp=sharing
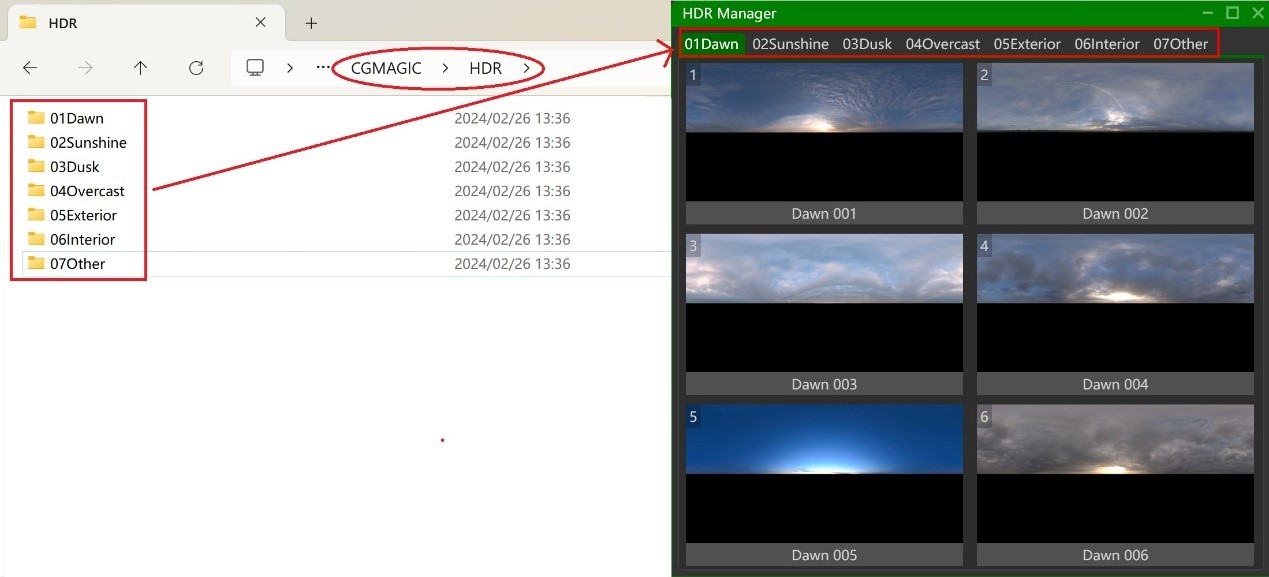
We recommend users to store your HDR assets to the path (installation directory\CGMAGIC\HDR, click ↑ to open) where the default HDRs we provide, to form your own HDR library for long-term use.
Light Bulb
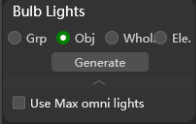
Supports creating light bulbs by group, object, whole or element.
Use Max omni. lights: Check to use 3ds Max's Omnilight;
Downlight/Spotlight
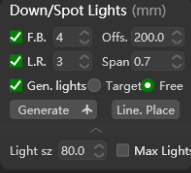
Supports generating downlights/spotlights according to set parameters on target planes.
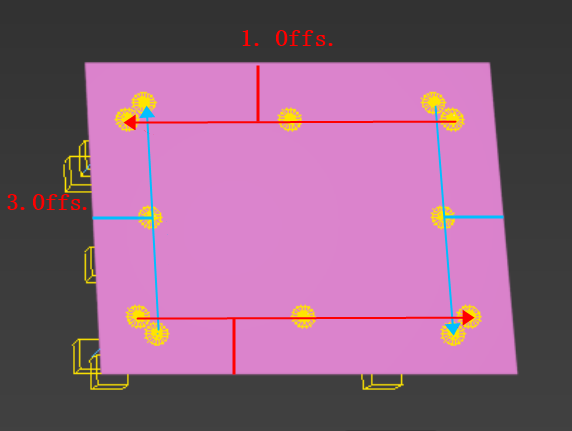
⇆: Check and set the number of downlight/spotlight to be generated in the front and back directions;Offs.: Set the offset of the light to be generated from the⇆/⇅boundary of the target plane;⇅: Check and set the number of downlight/spotlight to be generated in the left and right directions;
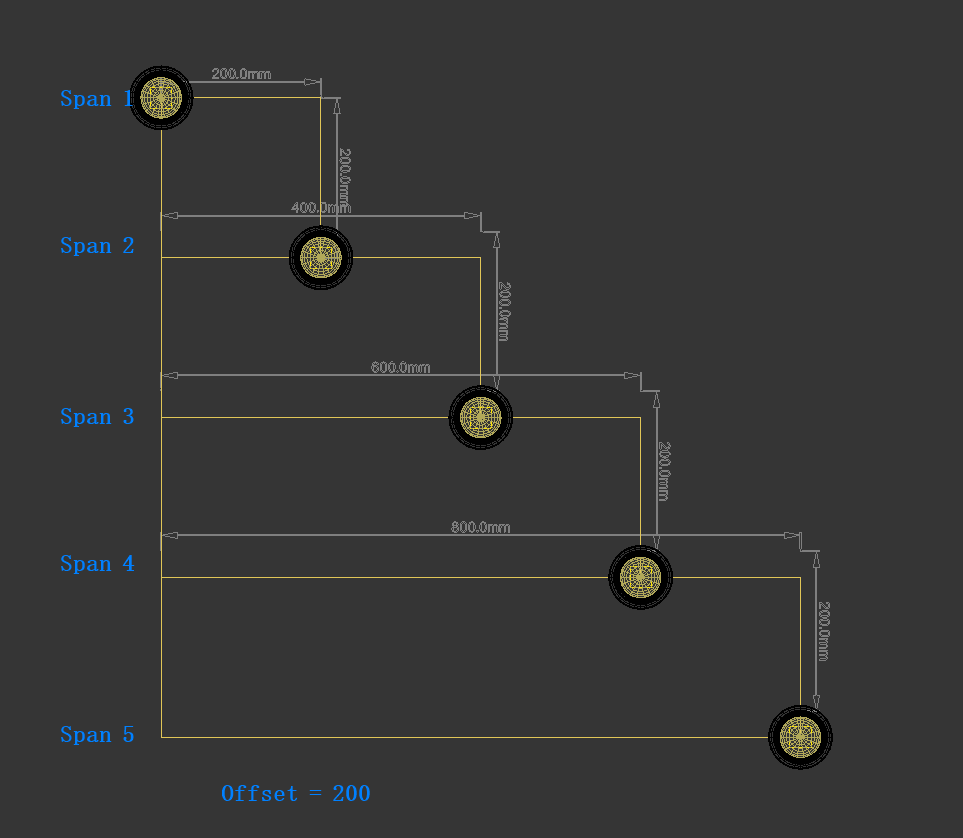
Span: The distance between the generated light and another boundary (the side adjacent to theOffs.value target boundary). The distance =Offs.Value *Spanvalue;Gen. Lights: Check to generatetargetlight orfreelight for the generated downlight/spotlight;Generate: Click to generate downlight; 7 Generate↑: Click to generate spotlight;Draw: Click to draw a straight line and generate downlight/spotlight alone it. To draw the line, please left click to set two points to determine the first and last light, the move you mouse up/down to increase/decrease light number, left click to confirm, right click to cancel;Size: Set the size of lights to be generated;- Max Lights: Check to enable standard 3ds Max light;
Light Strip
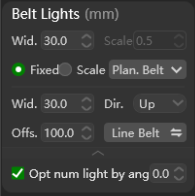
Supports generating area lights and light strips on target objects according to set parameters.
Wid.: SelectFix.and set the width of the area lights to be generated. The width of the area light expands symmetrically to both sides based on the center line of the lights groove;Ratio: Select Ration and set the number to determine the ration of the area light that will be generated to the area of the lights groove;
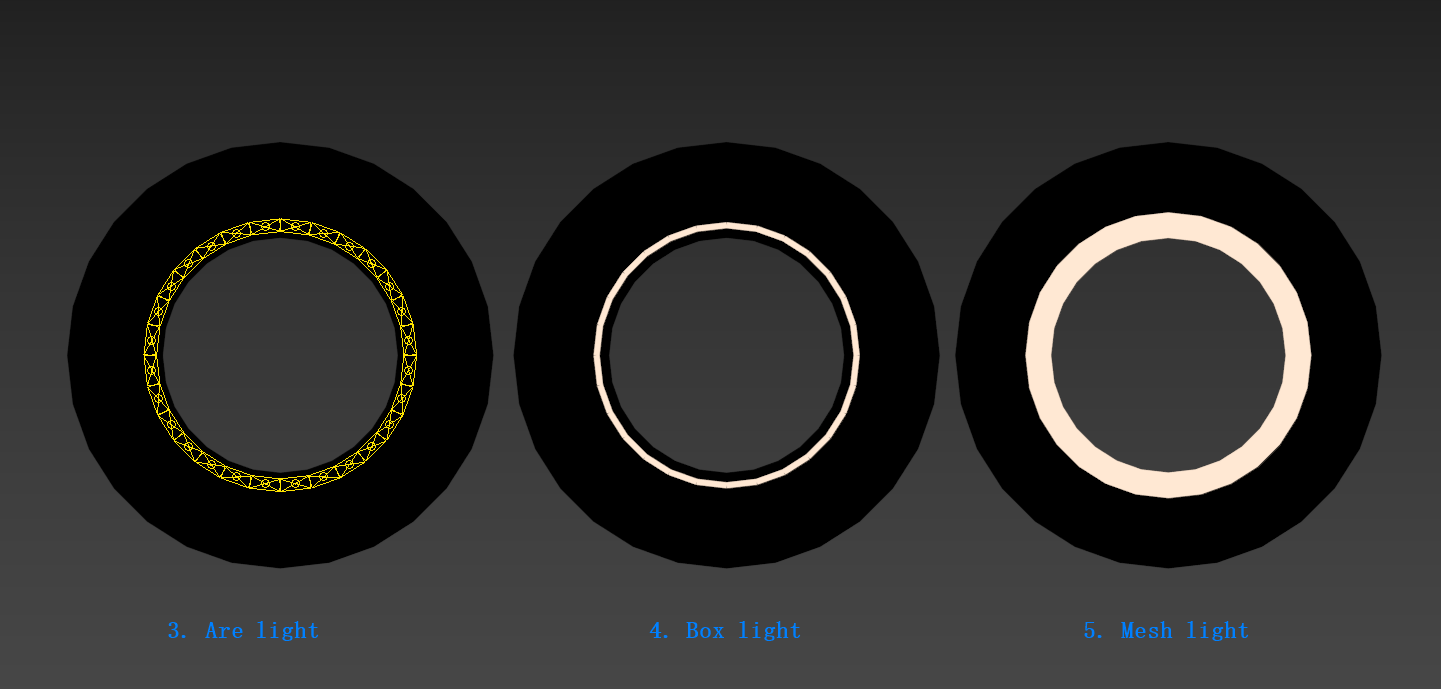
Area light: Click to generate area lights on target objects according to set parameters;Box light: Click to generate box lights on target object according to set parameters. The box light is a self-illuminating box;Mesh light: Click to generate mesh lights on target object according to set parameters. The mesh light is a self-illuminating mesh;Wid.: Set the width of the light strip to be generated;

7 Direc.: Select the direction you want the light strip to face; 8. Offs.: Set the offset between the light strip you want to generate and the guide line; 9. Draw: Click to draw a spline to serve as a guide line for the light strip to be generated; 10. ⇆ : Click to draw a spline to serve as a guide line for the light strip to be generated, and the light strip will be generated opposite the default direction of the guide line; 11. Angle-based light number opti.: Check to optimize the number of light according to the angle;
Light Operations
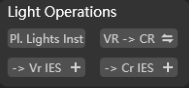
Group light: Select the lights you want to connect, click the button and select the target light to be associated to group them up, so that the associated lights will change together with changes in other lighting parameters;- VR -> CR: Click to convert the selected VRay Light to Corona Light;
⇆: Click to convert the selected Corona Light to VRay Light;-> Vr IES: Click to convert the selected light to VRayIES;- -> Vr IES
+: Click to convert all lights to VRayIES; -> Cr IES: Click to convert the selected light to Corona Light and enable IES; 7 -> Cr IES+: Click to convert all lights to Corona Light and enable IES;
Sun System

Supports binding and adjusting the angle of the sun in the scene.
Bind Sun: Click the button to bind the Sun to CG MAGIC, then you may view the direction and angle value of the current sun in the scene, and you may also click on the blue dome to decide where you want the sun to be;
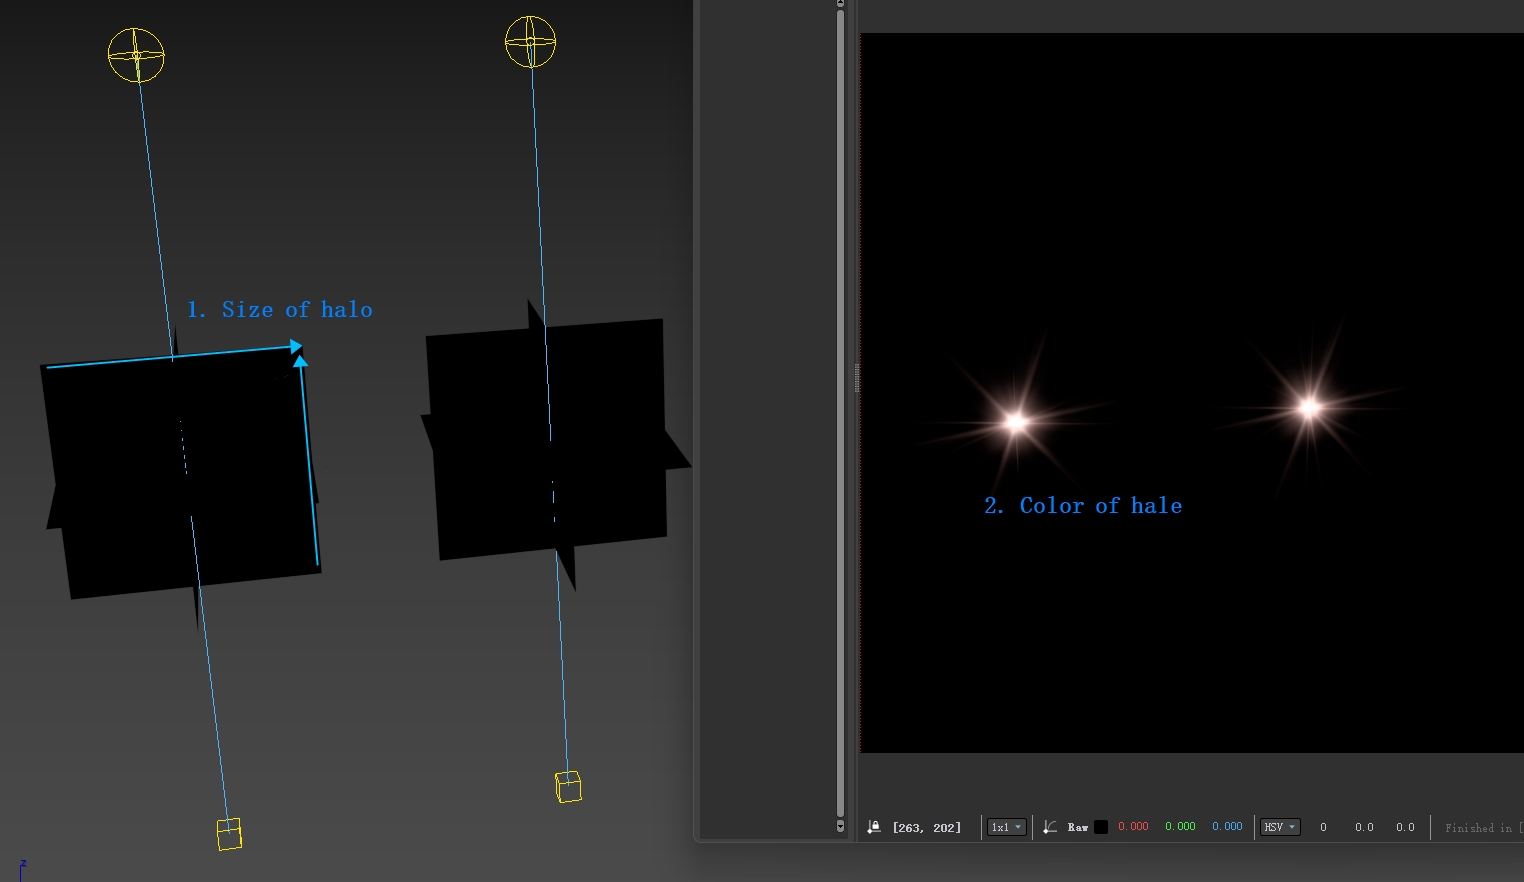
Halo
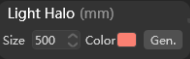
Supports generating (Gen.) halo of target light base on the set Size and Color.
Light Include/Exclude
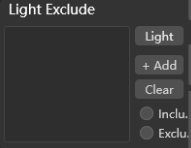
Supports quickly including or excluding objects on a light-by-light basis.
Light: Select a target light and click the button to set it as the target light;+ Add: Select one or multiple objects for the further including or excluding operations;Clear: Click to clear all selected objects in the manager;Inclu.: Select to apply including operation;Exclu.: Select to apply excluding operation. When excluded, the target object will not illuminated by the specified light and receives no shadows;
Light List
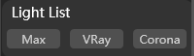
Supports quickly opening the corresponding light list by clicking the Max/VRay/Corona button