Edit
Edit
Copy/Paste
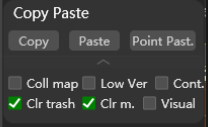
Help users quickly copy and paste specified content as needed.
Copy: Select the specified object and click the button to copy.Paste: Click to paste the copied the object. This only works when certain object is copied with theCopybutton, and objects will be pasted to the original coordinate by default.
Note:
CG MAGIC supports copy and paste objects across scenes. Which means you can click Copy in one 3ds Max file, then click Paste in another 3ds Max file to quickly reuse the asset in different scenes.
Point Past.(Point Paste): Paste the specified content to the mouse location;Copy Map: After checking, when copying the object, CG MAGIC will copy the maps together and re-specify the path to prevent the loss of maps;
Note:
If maps of original objects are missing, the maps will not be copied. Please detect the missing resources first and repair the path before copying;
Low Ver.(Lower version): After checking this option before copying, CG MAGIC will quickly generate a backup that is three versions lower, and the user can paste it directly in another lower version of 3ds Max scene file;
Note:
while cross-version pasting, the generated backup will be converted to the lowest version supported by the current 3ds Max version you are using. For example, if you are using 3ds Max 2024, the backup object will be converted to support 3ds Max 2021.
Multi-paste: After checking, clickPoint Past.to paste the objects multiple times;Clean: Check before copying, CG MAGIC will clean up the garbage contained in the selected object before pasting, reducing unnecessary memory consumption during the user's production process;Release: After checking and copying, CG MAGIC will release the cache contained in the selected object before pasting, reducing unnecessary memory consumption during the user's production process;
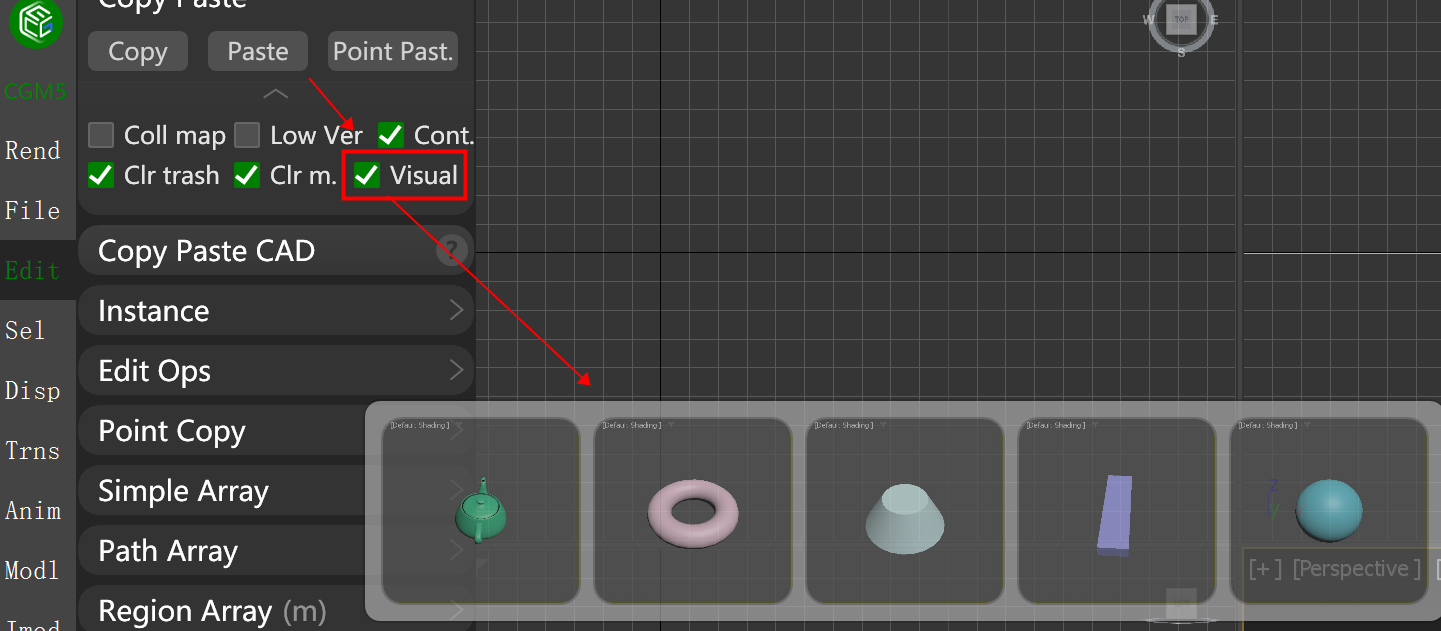
Visualize: After checking, the user's latest copied content (up to five) will be displayed for selection when pasting. If more than 5 objects are copied, the first copied objects will be overwritten in turn; When the visualization feature is not enabled, the latest copied content will be pasted by default;
Copy/Paste CAD
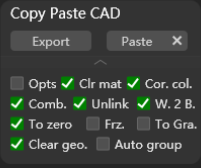
Export: Save the selected model as a DWG format file, which can be opened in CAD;Paste: Paste the copied graphics from CAD into 3ds Max;- Paste
X: Click to clean up the garbage contained in the selected object before pasting, reducing unnecessary memory consumption during the user's production process; Opts(Options): Check before pasting to launch the CAD setting panel in 3ds Max;Clr. Mat.(Clear up material): Check before pasting to clear up all materials and paste models only;Cor. Col.(Correct color): Check before pasting to correct color;Meg. Layer(Merge layer): Check before pasting to merge all CAD layers;Unlink: Check before pasting to unlink the DWG file;W.2 B.(White to black): Check before pasting to turn all white lines to black;To zero: Check before pasting to transform the pasted object to origin;Frz.(Freeze): Check before pasting to freeze the pasted object to disable further editing;To Gra.(Turn to gray): Check before pasting to turn all lines to gray;Clear geo.(Clear geometry): Check before pasting to clear all geometries in original CAD file;Auto group: Check before pasting to add all lines into a group;
Note:
It is recommended to use the same version of CAD and 3ds Max to reduce the error rate in the pasting process. If the CAD version is higher than the 3ds Max version, it may not be possible to paste.
Connection
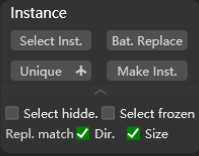
Select: Select objects connected to the object you selected;Bat. Replace(Batch Connection): Replace selected objects in batches with specified objects you choose;Disconnect: Disconnect the selected objects;Reconnect: Reconnect the selected objects;Hidden: Check before selecting to include all hidden objects into selection;Frozen: Check before selecting to include all frozen objects into selection;Dir.(Direction): Check before replacing to retain the orientation data of the original object;Size: Check before replacing to retain the size data of the original object;
Paste to Surface

Use this feature to paste certain objects to target surfaces.
Set Surface: Select a plane and click to set it as the target surface;Copy Object: Select one or multiple objects for pasting;Scal.(Scale): Adjust to set the size of the object to be pasted, based on the copied object;Rot.(Rotation): Adjust to set the rotation angle of the object to be pasted, rotating around the normal of the target surface based on the copied object;
Array - Box

Set the number of objects to be placed on the X, Y, and Z axis respectively, and click Array to perform a quick array.
Note:
After click Array, you need to find a place where you want the array start and left-click, then move your mouse along the X/Y/Z axis and left-click to set.
Array - Line
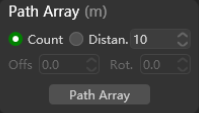
Select the object(s), set a fixed count or distance of objects to be placed, click Array and select the target line to perform a quick array.
Array - Reigon

Adjust Distance/Density and click Lasso/Draw/Rectangle/Curve to draw the desired shape as needed to fill the region with the array;
Array - Surface

Array certain objects on target surface.Fit height: Check before arraying to make sure that the arrayed object automatically fit the height;Auto collapse: Check before arraying to perform automatic combine of collapses;Cent. (Center): Select to array based on the center of the object;Bott. (Bottom): Check to array based on the bottom of the object;
Array - Plant
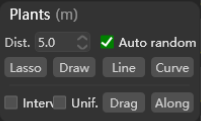
Adjust Distance and click Lasso/Draw/Rectangle/Curve to draw the desired shape as needed to fill the region with the array;Auto random: Check to perform automatic random arraying;Order: If you have selected multiple objects for arraying, check this feature and the objects will be sorted according to the object name (A-Z/0-9);Fix: Check to ensure objects are arrayed in a fixed distances;Drag: Click and drag the mouse to draw straight lines, and the objects to be planted will be arrayed according to the set parameters;Along: Click and select the target line to perform a quick array;
Array - Brush
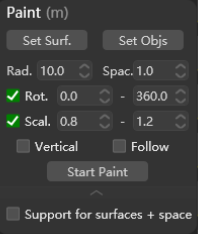
Set Surf(Set surface): Select a plane and click to set it as the target surface;Set Objs.(Set objects): Select object(s) and click to set it (them) as arraying objects;Rad.(Radius): Adjust the radius of the bush;Dist.(Distance): Adjust to set the distance of the object to be pasted;Rot.(Rotation range): Check and adjust the range value, the arrayed objects will be randomly rotated within this range based on the original object;Scal.(Scale): Check and adjust the range value, the scale of arrayed objects will be randomly adjusted within this range based on the original object;Vertical:Check before painting, all the arrayed objects will be arranged parallel to the normal line of the target surface;
Follow:Check before painting, the model rotation direction is parallel to the direction of the viewport pointed by the mouse;Start Paint:Click after all parameters set as needed and then start to array;Support for surfaces + space: Check to allow brush to paint in both the target surface and other space in the scene;
Note:
All arrays are arranged parallel to the normal line of the target surface by default, and users can adjust parameters in advance according to the features supported in different modules;
Fill Bookshelf

Adjust the stacking ratio and direction ratio for quick book placement.
- Stac.%: the proportion of books laid flat;
- Inve.%: the proportion of books placed in the opposite direction to the original;
Set Books: Select object(s) and click to set it (them) as book(s);Place: Switch to Edit Mode, select the faces of bookshelf where books should be put, and click to place books;
Fit Place
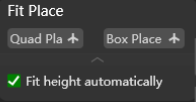
Recta. Plc.(Rectangular placemen): Place the selected object into the selected rectangular line region and fit the rectangular;
- Surface placement: Place the selected object on the target surface and fit the surface;
Box Place(Box placement): Place the selected object into the selected box region and fit the box;
- Draw & Place: Place the selected object to fit the drawn cuboid region;
- Fit Height: Check to keep the height of the placed object consistent with the original object;
Obj Property

Supports quickly copying the color/object attributes/rendering attribute data of the selected object and reusing it to the specified object;
