Material
Material
Copy/Paste
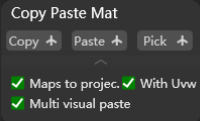
Supports to quickly copy and paste specified materials as needed.
Copy: Select the specified object and click the button to copy its material;- Copy
↑: Click the button to copy the material of the selected Material Editor; Paste: Click to paste the copied material to the target object. This only works when certain material is copied with the Copy button.- Paste
↑: Click the button to paste the copied material to the target Material Editor; Pick: Select the object that need to apply material, then click the Pick button and select a material from an object in the scene to reuse the material;- Pick
↑: Select the Editor that need to apply material, then click↑button and select a Material Editor to reuse the material; Maps to projec.: Check to copy the maps of selected object to the maps folder where the current max is located;With Uvw: Check to copy the Uvws of selected object and paste to target object;Preview: Check to preview material effects;
Optimize V-Ray Material
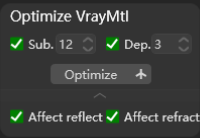
Supports optimizing materials used for V-Ray rendering based on set parameters.
Sub.: Select and set to change the subdivision of target material to the set value;Dep.: Select and set to change the depth of target material to the set value;Optimize: Click to optimize the material of selected object according to the set value;- Optimize
↑: Click to optimize all materials in the scene according to the set value; Affect reflect.: Check to have the optimization results affect reflection;Affect refract.: Check to have the optimization results affect refraction;
Clamp V-Ray Material
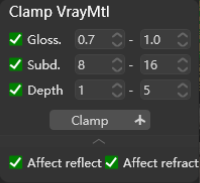
Supports limiting the range of data flowing through the operator to a minimum and maximum.
Gloss.: Limit the range of gloss;Sub.: Limit the range of subdivision;Dep.: Limit the range of depth;Clamp: Click to clamp the target material;- Clamp
↑: Click to clamp all materials; Affect reflect.: Check to have the clamp results affect reflection;Affect refract.: Check to have the clamp results affect refraction;
Simplify Material
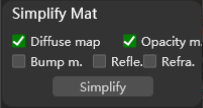
Supports simplifying materials based on set parameters.
Diffuse map: Check to retain the diffuse map;Opacity m.: Check to retain the opacity map;Bump m.: Check to retain the bump map;Refle.: Check to retain the reflection;Refra.: Check to retain the refraction;
Material Editor
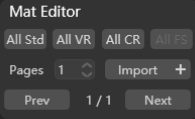
Supports quick setting of material editor and importing materials into material editor.
Std.: Click to refresh the current material editor and set the material sphere to the standard material;→VR: Click to refresh the current material editor and set the material sphere to the V-Ray material;→CR: Click to refresh the current material editor and set the material sphere to the Corona material;Import: Click to import the material of the selected model into the material editor;- Import
+: Click to import all the material spheres of the current scene into the material editor; Pages: Supports page turning and viewing of imported material spheres;
Material Converting
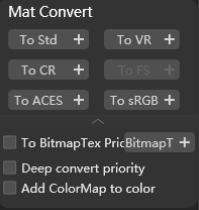
Supports quick conversion of material types.
To Std.: Click to convert the select material to the standard material;- To Std.
+: Click to convert all materials to the standard material; To VR: Click to convert the select material to the V-Ray material;- To VR.
+: Click to convert all materials to the V-Ray material; To CR: Click to convert the select material to the Corona material;- To CR.
+: Click to convert all materials to the Corona material; To ACES: Click to convert the select material to the ACES material;- To ACES.
+: Click to convert all materials to the ACES material; To sRGB: Click to convert the select material to the sRBG material;- To sRBG.
+: Click to convert all materials to the sRBG material; To Std. Bitmap first: Check to convert to standard bitmap first;To fit the renderer: Check to convert the material to fit specific render engine first;+ color map for solid color (ACES): Check to add a colored map to solid colors when performing ACES conversion;
Material Operation
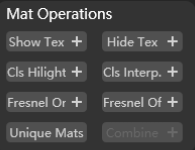
Quickly apply various material operations.
Show Tex.: Display the map of the selected model;- Show Tex.
+: Display all maps in the scene; Hide Tex.: Hide the map of the selected model- Hide Tex.
+: Hide all maps in the scene; Cls Hilight.: Turn off the material highlight of the selected model;- Cls Hilight.
+: Turn off all material highlights in the scene; Cls Interp.: : Turn off the material interpolation of the selected model;- Cls Interp.
+: Turn off all material interpolations in the scene; Fresnel On: Turn on the material Fresnel of the selected model;- Fresnel On
+: Turn on all material Fresnel in the scene; Fresnel Off: Turn off the material Fresnel of the selected model- Fresnel Off
+: Turn off all material Fresnel in the scene; Rename: Rename the material with the same name that exists in the current scene;
Self-Illumination
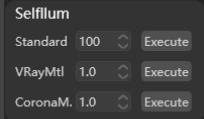
Supports modifying the self-illumination intensity of the certain material of the selected object.
Standard: Modify the self-illumination intensity of the standard material of the selected model;VRayMtl: Modify the self-illumination intensity of the V-Ray light material of the selected model;CoronaM.: Modify the self-illumination intensity of the Corona light material of the selected model;Apply: Click to apply self-illumination intensity to the specified object according to the previously modified parameters;
Random Material
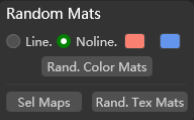
Supports randomly assigning materials to the target model according to the set parameters.
Line.: Select to generate a linear random material, also supports for Random map;Noline.: Select to generate non-linear, random materials, also supports for Random map;Sel Map: Click to select a map in your PC and click Random map to apply the map;
Hue/Saturation/Brightness/Contrast
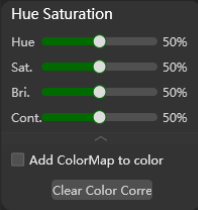
Supports adjusting the Hue/Saturation/Brightness/Contrast of the selected material by moving the slider.
+ color map for solid color diffuse reflection: Check to add a color map for solid color diffuse reflection;Clear: Click to clear all color correction operation;
Texture Editing
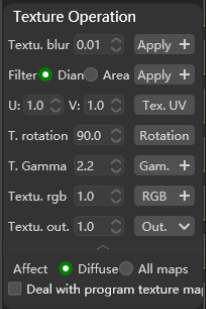
Supports various texture map editing;
Blur: Change the blur value of map;Apply: Apply the blur value to the map of selected material;- Apply
+: Apply the blur value to the map of all materials in the scene; Filter: Select to toggle filtering mode betweenPyramidandAreamodes;Apply: Apply the filtering mode to the map of selected material;- Apply
+: Apply the filtering mode to the map of all materials in the scene; Map UV: Map tiling according to the set U/V value;Rotate: Apply map rotation according to the setRotationvalue;Gamma: Click to change the gamma value according to the setGammavalue to the map of selected material;- Gamma
+: Click to change the gamma value according to the setGammavalue to the map of all materials in the scene; RGB: Click to change the RGB value according to the setRGBvalue to the map of selected material;- RGB
+: Click to change the RGB value according to the setRGBvalue to the map of all materials in the scene; Output: Click to change the output value according to the setOutputvalue to the map of selected material;- Output
+: Click to change the output value according to the setOutputvalue to the map of all materials in the scene; Affect: Click to select whether the above settings only affectDiffusereflection orAll maps;Also process procedural map: Check to process procedural maps simultaneously;
Bitmap Editing
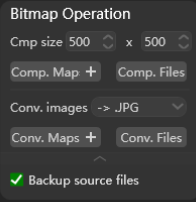
Compress Bmap.: Click to compress the size of the selected map according to the set Size;- Compress. Bmap.
+: Click to compress the size of all maps according to the set Size; Comp. Files: Click to compress the size of the selected file according to the set Size;?Convert: Click to convert the format of the selected map according to the set format;- Convert
+: Click to convert the format of the all maps according to the set format; Conv. Files: Click to convert the format of the selected file according to the set format;Backup source files: Check to back up the target texture before apply any changes;
Quick PS
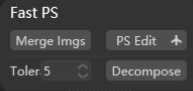
Supports apply quick PS processing of rendered images;
Collage: Click to collage multiple selected images to be one image;PS Edit: Click to open the selected images in PS directly (please make sure you have Photoshop installed in your workstation);- PS Edit
↑: Click to merge multiple selected images into one PDF file;
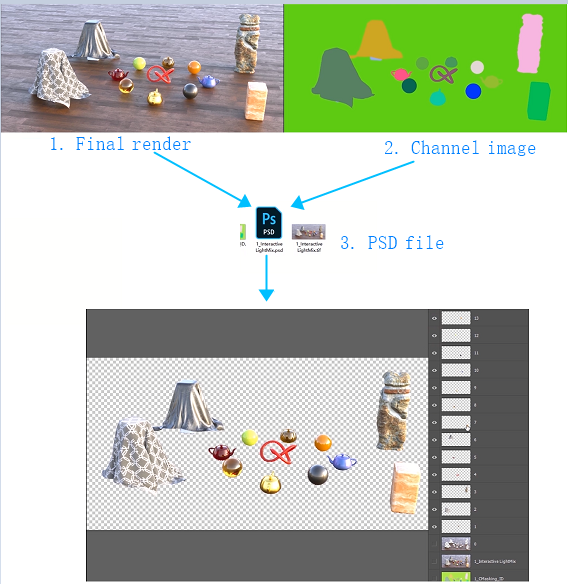
Layering: Click to select the rendered image and a channel image to layer (cutout) the objects. CG MAGIC will automatically open the PSD file path when layering is finished;